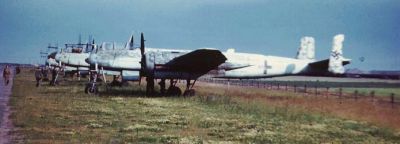
A wartime photo of a -219.
A wartime photo of a -219.
|
Kit |
|
|
|
|
|
|
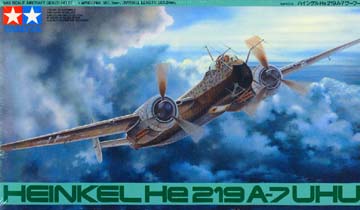
| Heinkel HE-219 UHU |
|
|
|
|
OOB | 8 |
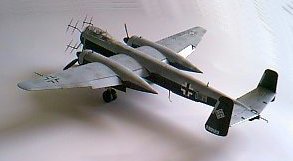
The HE-219 UHU was possibly the most effective night-fighter the Germans had in WWII. If it weren't for the personal, small minded bias one politician had against Heinkel, it could have been in production much earlier, and had a larger impact on the Allies' night bombing of Germany.
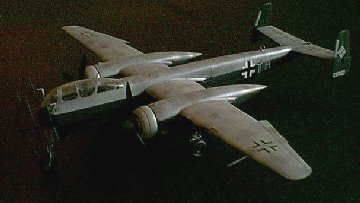
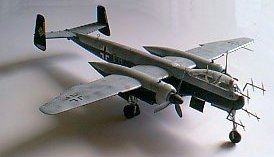
Out of the box, this is a big, skinny looking kit, well molded (no flash and no dry-fit problems seen.) A nice touch is the metal cockpit - putting weight in the nose where otherwise you'd be hard pressed to find space, and keeping the model on its nose gear!
This kit has somewhat poorer fit than what I'm used to from Tamiya (in other words, still very good, but....) There was a fuselage "ridge," and a bit of trouble (not much) aligning the fuselage halves and the engine nacelle bottoms. From what I've seen in other reviews, though, this may be something odd with my particular copy of the kit.
The rear compartment housing the "Schrage Musik" cannons is a disappointment. The only detail you have is a bulkhead, and the cannons themselves. The rest of the compartment is a big, empty area - no stringers or other fuselage internals. You can see all the way through the kit here. I decided to hollow out the cannon barrels slightly, as they are visible through the cannon ports in the compartment "hatch" - then glued the hatch down. The hatch is slightly under-size - there's a small but noticeable drop in the area where the hatch is that I didn't notice during dry fitting. Very thin plastic shims will help.
Be careful when cutting the fusealge halves from the sprues. The mounting for the rear antenna has a small "horn" coming off of it, which is where the antenna actually mounts. I accidentally cut mine off.
Leave the antennas off until after painting - this means all the top and bottom "whip" antennas, as well as the radar aerials. It will make painting much easier. The wing aerials don't cause any problems.
Leave the engine cowls off until after painting is complete.
Another method, depending on the aircraft you want to model, is to take an engineering pencil/carbon paper and trace the pattern from the (large) full size model sheet onto the top of the aircraft after painting the base "lichtblau" color, then fill it in.
POST PAINTING
Since the cowls are pure lichtblau all around on all schemes, they should be painted and left aside until after the camoflage is complete, then glued on.
Glue on the canopy antenna and underside whip antenna now. Use superglue on the radar antennas to keep them straight. Tamiya did a good job with the "main" mounts, but the antennas themselves are held on by a small dot of plastic. Use Superglue!
You can build three different aircraft - the only difference is in the color scheme and markings. The markings (black/white) were slightly off register, which seems to be common for this kit from other comments I've seen.
It's a good kit, but takes a little patience. It's also quite heavy...
but it's a unique aircraft, and a nice addition to any Luftwaffe or night
fighter collection.