

|
|
|
|
|
|
|
|
|
Bay of Pigs Sea Fury |
|
|
|
|
|
|
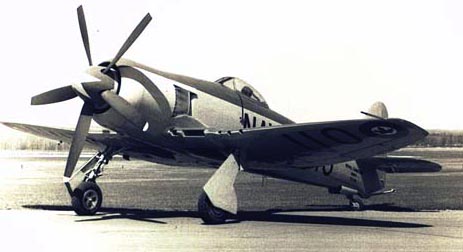
The Sea Fury was an outgrowth of the successor to the Hawker Hurricaine. As part of the evolution of the Tempest and Typhoon, Hawker tried fitting a radial engine to the airframe due to problems with the Napier Sabre engine. It was a successful marriage, and fit the needs of the Royal Navy. Hawker resurrected the Fury name for the airframe, and as it was destined for the RN, it gained the "Sea" prefix as its Sea Hurricaine forebear did.
 The Sea Fury served faithfully
with the Royal Navy through the Korean War, and was one of the last and most powerful
piston engined fighters put into service. It also served with other air arms, such as Pakistan, Iraq, Australia, and Cuba. The few Cuban examples fought the ill
planned attempt at invasion at the Bay of Pigs, and some still survive in museums
to this day.
Inside the box are several clean, grey sprues, and one clear sprue. The clear parts are somewhat thick, and the canopy only comes as one piece. If you want clearer parts or to open the canopy, see if you can find a vac-form version.
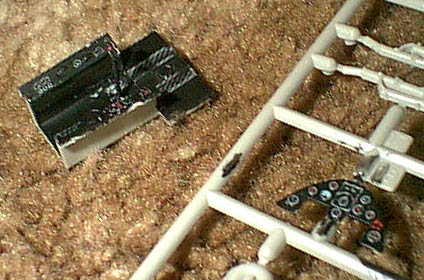
As usual, construction starts with the cockpit. And unfortunately, as is usual with most Hobbycraft kits, there's just not much of a cockpit to work with. The instrument panel isn't bad, but the rest of it is very empty or vaguely detailed. If you  want to get detailed, you have some work (or aftermarket part shipping) to do. On the other hand, it goes together quickly and fits reasonably well. Of course, it's finished in black. Some silver pencil and paint can dress up the cockpit if you're just building this to relax, instead of for a contest. The seat was painted per pictures, and seat belts painted on - this'll work fine under the kit canopy.
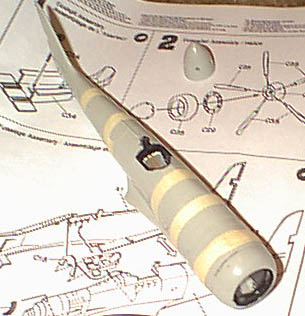
The next step has you assemble the prop and spinner, as well as the cowling. I skipped much of this - I assembled the prop (five seperate blades, unkeyed, and they don't tend to want to stay straight) and set it aside, then painted and highlighted the engine and set it in the cowl. You can attach the spinner later, if you do some slight modifications. Don't assemble the pin through the fuselage - I trimmed it and glued it to the spinner, so I can remove it next time I move.
The fuselage fits together well, with just a little tape. T he biggest problem is that the control panel is not definately keyed, but if you pay attention it goes in relatively well. The wings needed a bit of taping all along the edges, after the wheel well insert was glued in - just be sure to drill out the rocket and/or drop tank holes (if you choose to use them - they're shown on the box art, but not in the instructions. The fit to the fuselage wasn't too bad, but use (more!) tape to keep the dihedral, or you will have gaps along the edges.
The landing gear went together well - the landing gear doors, though, aren't diagrammed very well. Go search on the 'net to see how they're actually set up. The instructions won't help.
You're given a choice of two markings - the Cuban Bay of Pigs sea fury, and a Pakistani model in desert camoflage. I chose to go with the Cuban example. I ran across a picture of one online, in similar markings. Hobbycraft just calls out "dark green" as the color, and gives an alternative dark green and olive drab (which wasn't all that clear. There were no top diagrams of it, and no photos online.) Since these were ex-RN machines, I painted them overall British dark green. The markings, in general, went down well with only slight silvering (still working on that - they didn't seem to like the solvents.) The biggest problem was the tail flash - no matter how it was set up, it didn't match the rudder profile. I went with the best fit, and touched up the other areas with paint... it worked out pretty well. Once all this was dry, there was the usual exhaust staining with pastels, and some tire "weathering." It doesn't show up well against the dark green, even in person - so, no, it doesn't photograph well. :)
Conclusions
It's a decent kit, with Hobbycraft's typical weak cockpit. If you can deal with that and find Aeromaster's Foreign Sea Furies sheet, or find a resin replacement as well as a vac-form canopy, you'll end up with a great kit. If you just want something to represent the type, it seems (to me) to be a good representation. The canopy looks small - but it does on the real aircraft, too. Somewhat reccommended.