| Kit | Kit Manufacturer | Scale | Price | Options | Out of Box (OOB) or Modified | Rating (1-10 10=best) |
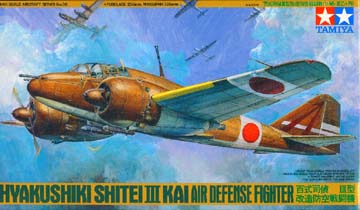
| Hyakushiki Shitei III-Kai (KI-46) "Dinah" interceptor | Tamiya | 1/48 | $30 | Markings and Armament | 9.75 |
The KI-46 was originally the a reconnaissance aircraft. While the performance of the initial model (KI-46-I) was less than stellar, the KI-46 II and III were virtually immune to interception due to their high speed and good altitude capability. These capabilities led to two events; first, the Luftwaffe showed interest in purchasing the aircraft or the manufacturing rights for their own use (and were turned down by the Japanese government,) and second, the aircraft was modified for interception duties when B-29s started bombing the Japanese home islands. While coming late in the war, these aircraft proved effective - especially when fitted with the 37 mm cannon pointing upward through the fuselage (similar to the Luftwaffe's "Schrage Musik" installation.) Unfortunately, only one Dinah survives today (a recon version, in a museum.)
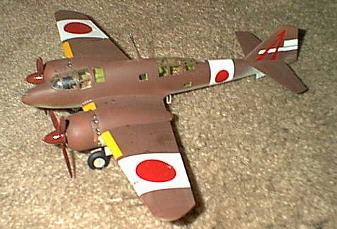
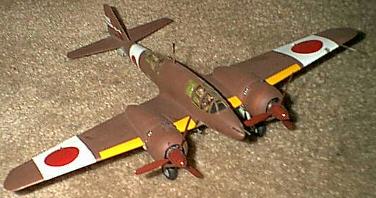
The kit itself is typical Tamiya - accurate, great fit (there was *no* seam to fill anywhere on this kit!) and good moulding. It comes in two versions - an "Otsu" and "Otsu + Kai" (with the upward pointing cannon.) Despite how it sounds, the cannon sticking out the top of the aircraft does not really spoil the lines of this aircraft.
My one major gripe with the kit deals with the "Otsu" (non-cannon-armed) variant, which i was initially going to build. The rear cockpit does not carry *any* detailing variations. If you choose to build a straight "Otsu," and follow Tamiya's instructions, you will have a large, empty space with a "lump" where you'd mount the seat, and another "lump" with some ridges where the cannon would be mounted. It's not just *empty,* it looks unfinished. Another cockpit floor and more details (some of which, such as a small "table" in back, I scratchbuilt looking at pictures of the recon version.) I gave up on my plan to build a straight "otsu" and built the cannon armed variant.
There are no real "tricks" to building the model, but there are a few tips -
Those are really the only "tricky" areas
of the kit. Other than that, it's an easy build.
For another review, look at the J-Aircraft page reviews.