|
|
|
|
|
|
|
|
|
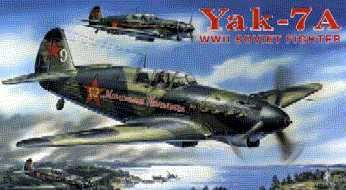
YAK-7a |
|
|
|
|
| 8
|
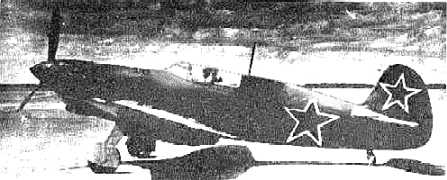
The YAK-7 was an outgrowth of the YAK-1, a more advanced version of that nimble little Russian fighter. It was lightly armed compared to other "contemporary" fighters (1 cannon and two machine guns compared to six .50 MG's in the Mustang, or multiple cannon and MG's int he Spitfire) but in the low altitude dogfights of the Eastern Front, it was a formidable opponent. Its simple structure allowed for mass production and conversion to - and back from, in the case of the aircraft modelled in this kit - trainers.
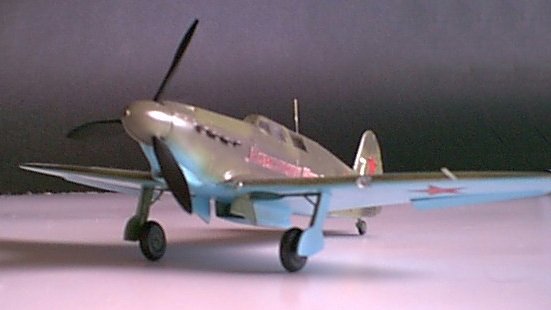
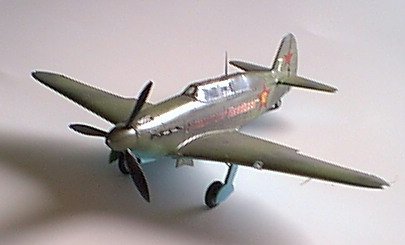
This kit does not fall together like a Tamiya or Hasegawa kit. If you've built any limited run kits - or any Dragon/DML/Trimaster kits (which this most reminds me of,) you'll have no problems assembling the kit. It's a simple kit, but well moulded. There's no problem with flash or warpage. Be careful with the wing/oil cooler/fuselage joint - it's the only area I really needed to use filler in.
The interior consists of a "tube" framework you glue to each side of the fuselage. You apply the side consoles to this. The interior itself (seat, control stick, rudder pedals, armor) glues onto a curved section representing the top of the wing. After painting the inside British Interior Green, I "scuffed" the floor a bit with Rub 'n Buff drybrushed with an old, stiff brush. No seat belts are included - you'll have to buy or make your own.
Don't bother making the engine if you don't want to use the "framework" on top (closing the upper decking instead.) The engine bay needs a lot of detail work, being mostly an empty cavern.The engine, machine guns, and cannon are detailed nicely though. If you don't plan on using the engine, blank the exhausts with plastic card so you have something to glue the exhausts to, and save a little time by just gluing the spinner backplate to the hole in the front of the fuselage. You can't see any of it from the cockpit.
If you want to use the underwing rockets, don't forget to drill out the holes in the wings. (I didn't.)
In general, there are no locating pin/hole combinations, but everything fits together very well. Don't rush, and you should be able to get this together without a problem. As I mentioned, the only place I needed putty was in the wing joint, and the area where the wing, front oil cooler intake, and fuselage came together. The canopy appears nice and clear, and shouldn't give any problems.
The decals might need replacing - they're printed matt, and have large areas of carrier film. A little work (and Future) should help them out. More as the kit (finally) gets finished. Click for more information.